Summary created by Smart Answers AI
In summary:
- Macworld outlines 10 essential iPhone safety features that users should activate immediately, including Stolen Device Protection, Face ID app locking, and Emergency SOS shortcuts.
- These security measures matter because many critical safety tools aren’t enabled by default and require manual setup to protect against theft, unauthorized access, and emergencies.
- Key recommendations include enabling automatic iOS updates for security patches, setting up Find My with location sharing, and configuring emergency contacts in the Health app for first responders.
In the mighty iPhone, Apple has built arguably the most private mobile platform in the mainstream market. Users have full control over personal data authorization; third-party apps, for the most part, cannot access sensitive sensors and user files without your explicit permission.
iOS also offers a slew of features that can assist you during emergencies and keep your data safe if your iPhone is ever lost or stolen. While many of these protective tools work by default, some of them need to be manually set up by the user. In this article we outline 10 safety features you need to turn on right now.
Protect your Apple Account
First, you must make your Apple Account more recoverable, as it can be the key to your entire digital life. Losing access to it could cost you your iCloud uploads, passwords, app purchases, and much more.
Head to the Settings app on your iPhone, then tap on [your name] at the very top, followed by Sign-In & Security. Head to the Two-Factor Authentication page and Add a Trusted Phone Number (or two). This way, if you ever lose physical access to your Apple devices, you’ll still be able to sign into your account by receiving the 2FA code via SMS (as opposed to the default on-device popup).
Go back to the Sign-In & Security page, and choose a (trusted!) friend or family member as a Recovery Contact. If you ever get locked out of your Apple Account, they may be able to help you regain access.
Lock down iCloud
iCloud is the most convenient way to store your iPhone’s data, as it continuously syncs in the background and pushes updates to all of your Apple devices. It works with Apple Photos, Contacts, Notes, Files, Messages, plus many other first- and third-party apps. Open the Settings app and tap iCloud, then enable the desired apps’ toggles to keep their data in the cloud and easily retrieve them if your iPhone gets damaged. The same goes for full device iCloud backups, which will maintain a safe copy of your iPhone settings, wallpaper, and overall setup.
Once done, you may want to enable Advanced Data Protection to add end-to-end encryption and disable iCloud.com if you exclusively access iCloud on your Apple devices and never from the web app. If you’re an iCloud+ subscriber, it’s wise to also use the Hide My Email and Private Relay features, as they can protect your privacy when signing up for online accounts and browsing via Safari.
Mahmoud Itani / Foundry
Shield prying eyes
Opting for a passcode or password as your primary iPhone lock is not advisable, as people may spot you typing it in while you’re in a public space. Biometric authentication is generally safer, as well as being more convenient.
Open Settings and go to Face ID & Passcode, then set up Face ID by following the onscreen instructions. You may also want to scroll down and disable access to the Notification Center, Control Center, Wallet, and other sensitive menus when your iPhone is locked using their respective toggles. Finally, at the very bottom, enable the Erase Data option, which will wipe your iPhone if someone inputs a wrong passcode ten times in a row. In this case, the device will remain locked and tied to your Apple account, but they won’t be able to retrieve your data through a brute force attack.
Emergency situations can occur at any time, and you’ll want to be prepared for them. Fortunately the iPhone has plenty of tools which can provide peace of mind.
Go to Emergency SOS in the Settings app (you’ll find it just below Face ID & Passcode towards the bottom of the main screen) and make sure the quick shortcuts to call emergency services are enabled. Next, enable the Crash Detection feature, which automatically calls emergency services and notifies your emergency contacts if your iPhone detects a severe car crash.
To add or remove emergency contacts, tap on Edit Emergency Contacts in Health (if you haven’t added any, this will instead read Set up Emergency Contacts in Health). Make the needed adjustments and complete your Medical ID by inputting your blood type, allergies, and other vital information. Make sure the Show When Locked toggle is on, too, to allow first responders to view your details even if your iPhone is locked.
Mahmoud Itani / Foundry
Defend your location
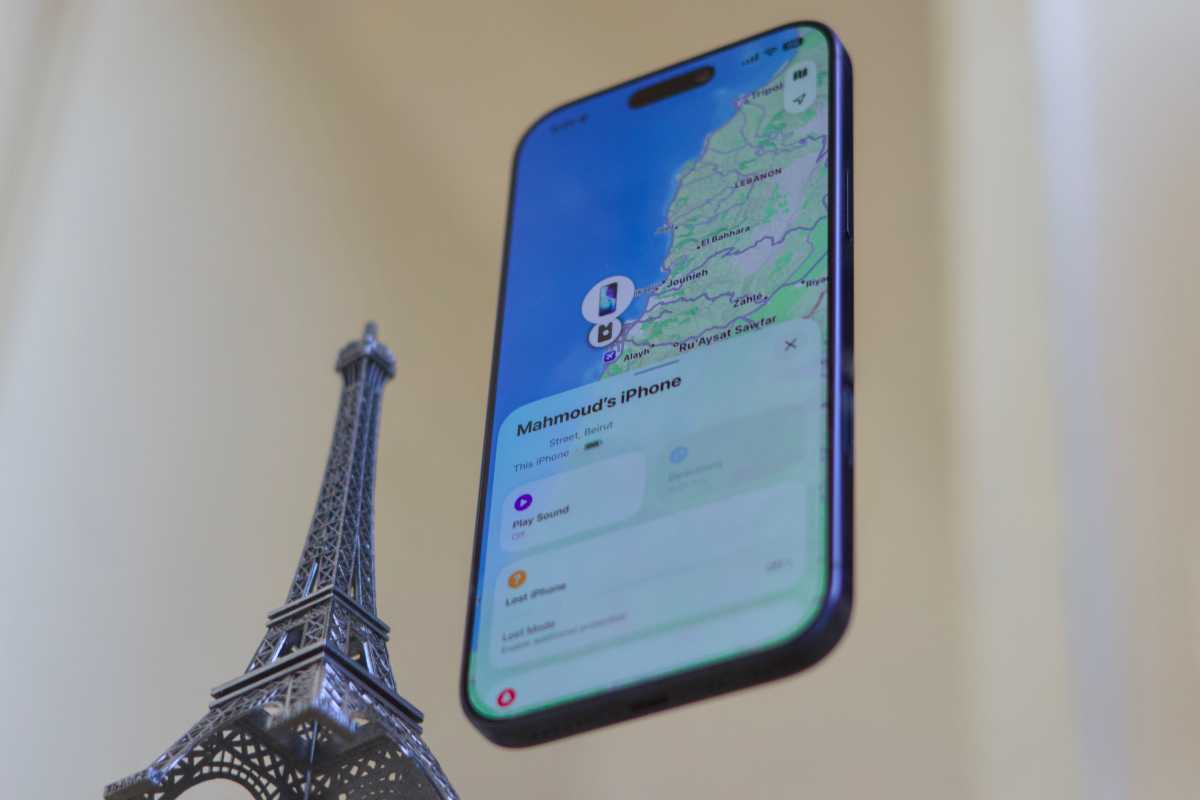
Find My can help you locate, ping, and even wipe a lost or stolen iPhone. Open Settings and head to [your name] > Find My > Find My iPhone, and enable the Find My iPhone, Find My network, and Send Last Location options. You can view and control all of your supported Apple devices using the Devices tab in the Find My app.
For added peace of mind, you can grant a trusted partner or family member access to your precise location at all times using the Find My app’s People tab. Or, if you’d prefer something less permanent and invasive, consider iMessage’s Check In applet, which is perfect for one-off location monitoring. If you’re taking a questionable route or worried about reaching your destination, send the applet to a friend or loved one: tap the + symbol next to the message entry field, scroll down until you see the yellow Check In icon, and tap it. This will temporarily share your location and other relevant updates (which you can customise to suit) with the selected recipient.
Check In, incidentally, is one of the 12 hidden iMessage features we think every iPhone user should try.
Mahmoud Itani / Foundry
Limit access
iPhone apps are barred from accessing your photos, contacts, location, camera, and microphone unless you explicitly choose otherwise. To check the permissions you’ve already granted, head to Privacy & Security in Settings, and visit each section. You can revoke any of the permissions using the respective toggles.
If you believe someone is targeting you specifically with a sophisticated cyberattack, you may want to enable Lockdown Mode (you’ll find this at the bottom of the Privacy & Security screen). This will restrict certain iPhone apps and features to protect you and your data. It’s the last resort for when a regular block isn’t sufficient. Alternatively, from the same screen, go to Safety Check > Emergency Reset. This is also a solid option that revokes sensitive permissions in apps and quickly stops sharing your information with other users in Apple apps such Health, Fitness, and Find My.
Hide your apps
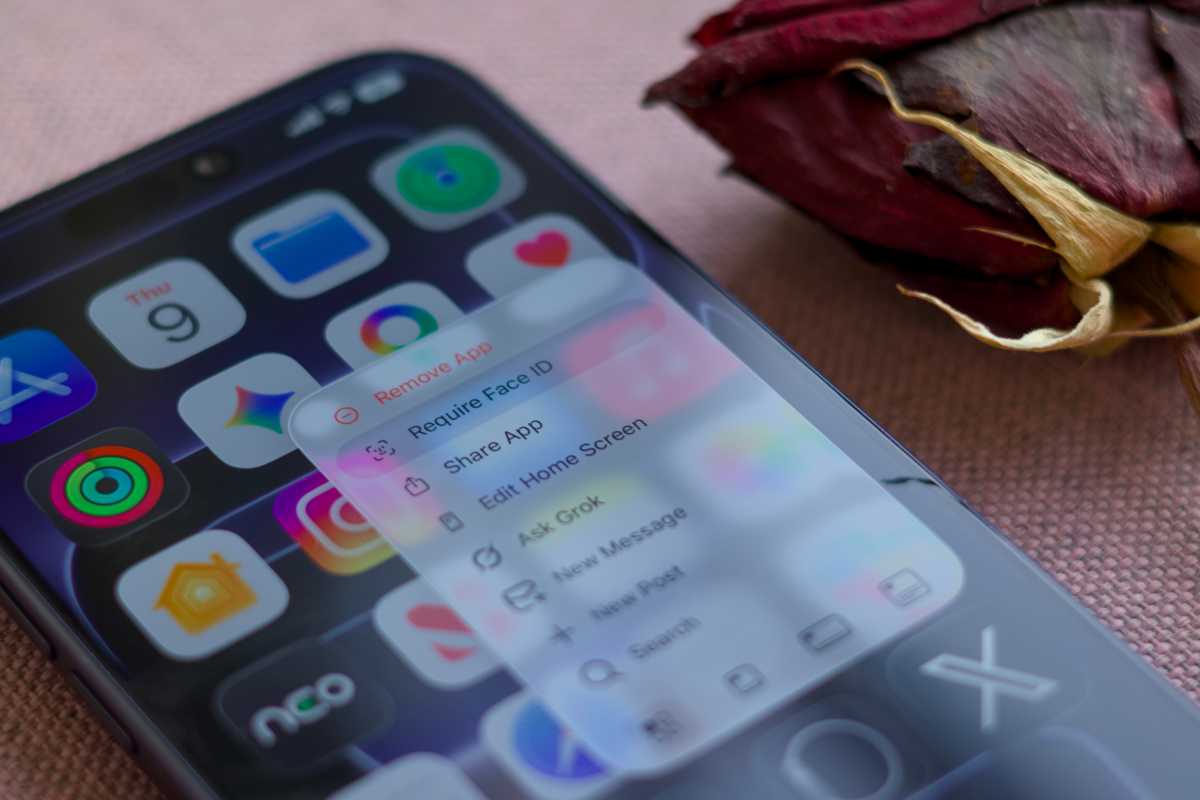
If you’re using an app which could get you in trouble, you may want to lock or hide it. On the Home Screen, simply tap and hold on the desired app icon and hit Require Face ID. (This option isn’t available for absolutely every app, but most of the ones which don’t offer it, such as Camera and Settings, are pretty harmless.) Go for Require Face ID to just lock it or Hide and Require Face ID to also move it to the concealed Hidden folder in your App Library.
Mahmoud Itani / Foundry
Turn on Stolen Device Protection
Stolen Device Protection is an effective security measure which prevents a thief with physical access to your iPhone from fully taking it over, even if they know the passcode. Resetting the device or changing sensitive settings will require a successful Face ID scan, followed by a one-hour delay. This gives you ample time to remotely secure your stolen iPhone via Find My on another Apple device, limiting the thief’s options.
To enable the feature and customize the way it works, head to Privacy & Security, scroll to the bottom, and visit the Stolen Device Protection page.
Add Apple Passwords to your Dock
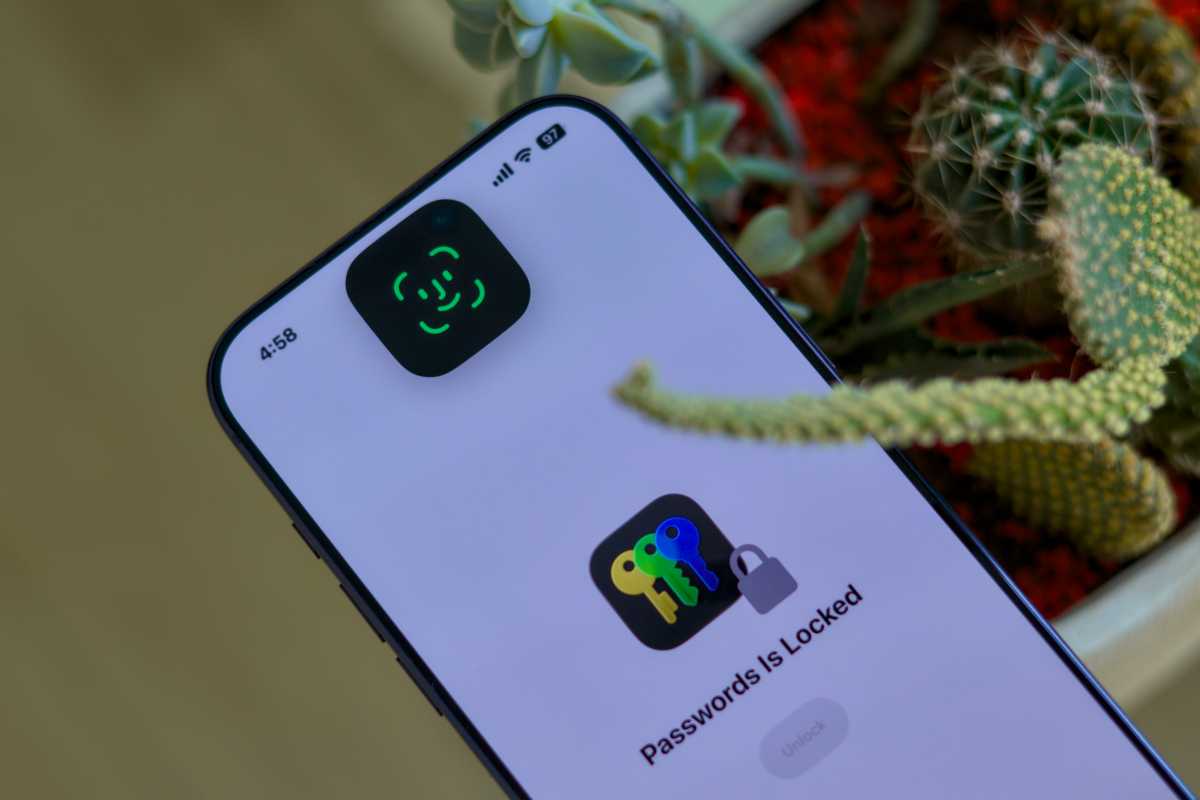
If you’ve been using the Notes app to store your login credentials, consider this your sign to switch to Apple Passwords. The built-in app is more secure and designed specifically for this purpose. It can generate 2FA codes and store passkeys, which you should enable for all of your eligible online accounts to maximize their security.
Mahmoud Itani / Foundry
Update iOS
Beyond user-facing changes and feature introductions, Apple actively relies on iOS updates to deliver important security patches. These help prevent hackers from exploiting vulnerabilities that can harm you in ways such as installing malware on your iPhone.
To ensure you receive all future OS releases, it’s wise to turn on automatic updates. Open Settings and go to General > Software Update > Automatic Updates, and enable the Automatically Install toggle. Similarly, head to Privacy & Security, followed by Background Security Improvements, and ensure Automatically Install is toggled on.
You can read more about this process in our guide to updating iOS on your iPhone.


