Landing in Japan without mobile data can make a long travel day much harder than it needs to be. The minute you arrive you’ll likely rely on your phone for train routes, maps, translation, reservations, and messages, so it’s best to sort out getting connected before your flight.
I’ve lived in Japan for nearly a decade, both in cities and the countryside, and I’ve used several different ways to stay connected. These days, I’ve found an eSIM to be the easiest option. But there are a few things worth checking before you buy one. Your phone needs to support eSIMs, your plan needs enough data for your trip, and activation rules can vary between providers. This checklist covers what to look for, how to set up everything, and what to do once you land in Japan.
PROMOTION
A Japan travel eSIM with UNLIMITED data
Ubigi’s unlimited data plans for Japan are on sale at 15% OFF (and you can purchase one up to six months in advance). Access the country’s two best networks in 5G/4G for fast, affordable and reliable mobile internet. Plus you can keep using the eSIM in 200+ destinations when your trip is over. View the offer and use code TECHJAPAN15 at checkout.
Make sure your phone will work with a Japan eSIM
Before you buy a Japan eSIM, it’s necessary to check two things: whether your phone supports eSIMs and whether it’s carrier-unlocked. Most newer phones support eSIMs, but there are exceptions based on the model and where it was purchased.
For example, Apple supports eSIMs on the iPhone XS, XS Max, XR, and newer models, although there are some regional exceptions. Google supports eSIM on all Pixel 4 models and newer. Samsung support varies widely by model and region, so be sure to check your individual phone to verify compatibility.
You’ll also need an unlocked phone. If you bought your phone through a carrier, it may be locked to that carrier’s network, which can prevent you from adding a travel eSIM from another provider. It’s a good idea to check your phone’s lock status before trying to use a second carrier.
On an iPhone, go to Settings > General > About > Carrier Lock. If it says “No SIM restrictions,” you’re good to go. On Android, the easiest option is usually to check with your carrier or phone manufacturer, since the exact menus vary by brand.
Do both checks before paying for a plan. An eSIM-compatible phone that’s still carrier-locked won’t do you much good once you land in Japan.
Choose the right amount of data for your trip
It’s usually best, and easiest, to choose a plan that overestimates your data usage so that you aren’t left scrambling to figure out what to do if you run out.
Nomad
How much data you need depends on how you plan to use your phone in Japan. If you mostly need Google Maps, train schedules, messaging, and the occasional web search, a smaller data plan—somewhere in the neighborhood of 10GB to 15GB—should be enough. If, however, you spend a lot of time on social media, upload photos and videos, or stream music throughout the day, you’ll want to opt for more data—30GB to 50GB—or go for an unlimited plan instead.
Most major Japan eSIM providers offer a wide range of options, from small 1GB packages to 20GB, 50GB, and unlimited plans.
The way providers package that data varies quite a bit. At the time of writing, for example, Ubigi, Airalo, and Saily offer everything from small fixed-data packages to unlimited plans for up to 30 days. Nomad is worth a look for heavier users who don’t necessarily need unlimited data, with options such as a 50GB plan for longer trips. Holafly takes a different approach and focuses solely on unlimited plans that you buy based on the number of days you need.
Prices and plan sizes change often, so I wouldn’t choose based on one advertised price alone. Think about how much data you’ll actually use and then compare plans that fit that amount.
Just don’t assume “unlimited” means you can use as much high-speed data as you want. Many providers have clauses written into the contract that allow them to slow your connection after you use a certain amount of data in a day. Check the fair-use policy before buying, particularly if you’re counting on your eSIM for things such as streaming or remote work.
For most travelers, it’s better to slightly overestimate your needs rather than spend the last few days of your trip hunting for Wi-Fi or reluctantly shelling out for extra data.
Double-check the eSIM plan details
It’s tempting to pick the cheapest eSIM you can find, but price is only one aspect of your plan. Before you buy, check out the coverage areas, validity period, network speeds, hotspot support, and customer service. A cheap plan isn’t worth the savings if it expires halfway through your trip or struggles to connect where you’re going.
Pay particular attention to which Japanese mobile network the eSIM uses. Travel eSIM companies usually connect through local carriers, so coverage can vary by provider. If you’re sticking to major cities such as Tokyo, Osaka, and Kyoto, this may not matter. But if you’re heading into rural areas, the mountains, or smaller islands, it’s worth checking the provider’s coverage map before you buy.
Having lived in both urban and rural parts of Japan, this is one detail I wouldn’t overlook. Coverage that seems perfectly fine in a big city can become much less reliable once you get farther into the countryside.
Ubigi, for example, uses NTT Docomo in Japan and supports 5G where available. Jetpac uses KDDI, while Holafly connects through KDDI and SoftBank. Rather than assuming every “Japan eSIM” will give you the same coverage, check which underlying network your particular plan uses, especially if your itinerary includes rural or mountainous areas.
Finally, look at the little restrictions that are easy to miss. Some plans allow hotspot and tethering, while others limit or block it. Check how long the plan stays active, whether you can add more data without installing a new eSIM, and what kind of support is available if something goes wrong. Those details can matter a lot more than saving a few dollars up front.
Decide if you need calls or texts
Many travel eSIMs for Japan are data-only, which means they don’t include a Japanese phone number, traditional voice calls, or SMS. Ubigi and Saily are examples of popular Japan eSIMs that focus on mobile data over calling and texting.
There are other options though if you actually need a Japanese number. Mobal, for example, offers Voice+Data eSIMs that come with a real Japanese 070, 080, or 090 phone number and support regular calls and SMS. Sakura Mobile also offers separate mobile voice-and-data plans, although its short-term Travel eSIM plans are data-only.
For most travelers, that isn’t a big problem. You can still use apps such as LINE, WhatsApp, iMessage, FaceTime, Signal, and Messenger over your eSIM’s data connection. But if you need to do things such as make regular phone calls or receive text verification codes then it’s best to check the plan details before you buy.
You may also be able to keep your normal SIM active alongside the Japan eSIM. In that setup, use the travel eSIM for mobile data while keeping your home SIM available for calls and texts. Just be careful with roaming settings and charges from your home carrier. Receiving or making calls and texts abroad can still cost extra depending on your plan.
Buy your eSIM before you leave
It’s a good idea to buy your eSIM for your trip to Japan before you leave. That way, you can install it while you still have a reliable Wi-Fi connection and sort out any problems beforehand.
Buying, installing, and activating an eSIM aren’t always the same thing though. With many travel eSIMs, the clock doesn’t start until the eSIM connects to a supported network in Japan. Others may begin as soon as you install the eSIM, regardless of where you are.
Sakura Mobile is a good example. Its Unlimited Data eSIM can be installed before you reach Japan and begins its usage period when it connects to the network in Japan. Its 3GB-per-day Travel eSIM, however, begins immediately upon installation on your phone. That’s why it’s worth reading the activation instructions for the exact plan you bought rather than assuming all eSIMs work the same way.
If the plan only starts when you connect to a network in Japan, it’s usually safe to install it ahead of time. If eSIM installation is what starts it, wait until shortly before your trip. Either way, doing the setup at home is much easier than trying to figure it out after a long flight.
Install and activate your eSIM at the right time
Foundry
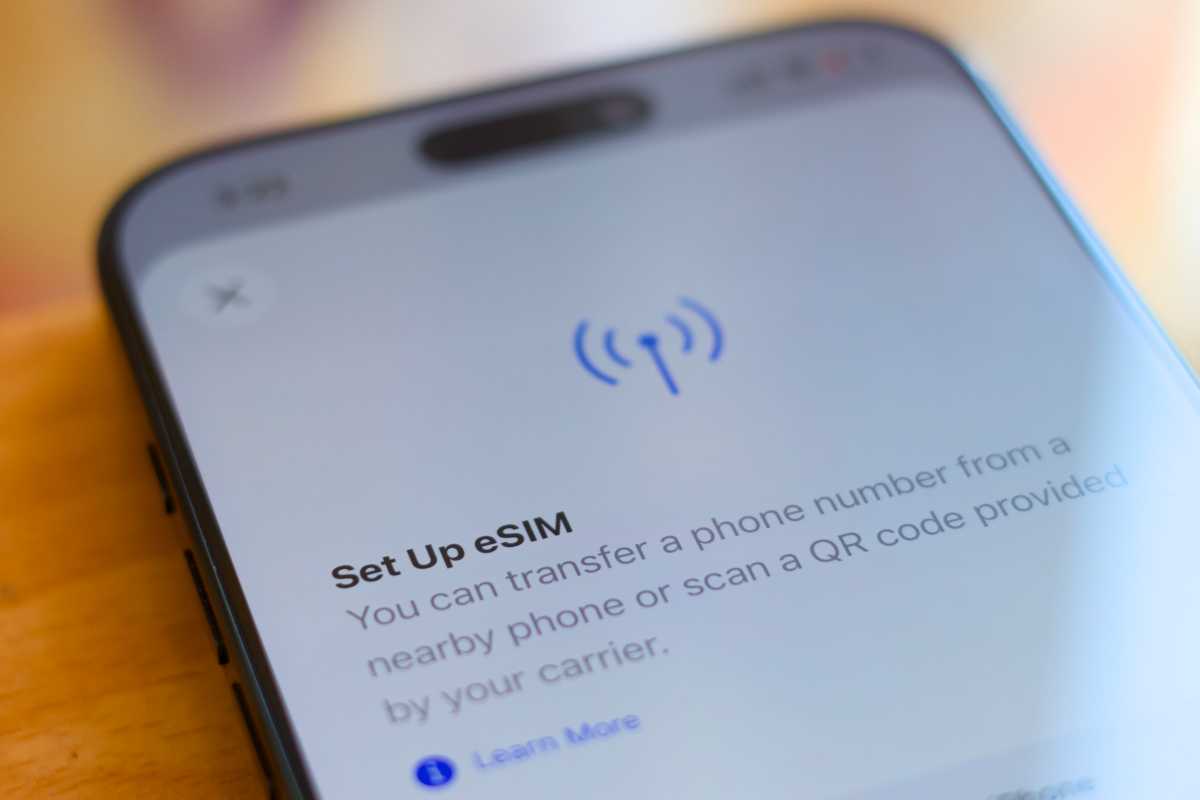
Once you’ve bought your eSIM, install it while you still have a reliable internet connection—depending on the carrier’s activation period mentioned above.
On an iPhone, go to Settings > Cellular > Add eSIM and follow the prompts. On a Google Pixel, the path is Settings > Network & internet > SIMs > Add SIM > Set up an eSIM. Other Android phones use similar menus, but the wording can vary by brand. Your eSIM provider will likely give you setup instructions or a QR code to scan for installation assistance.
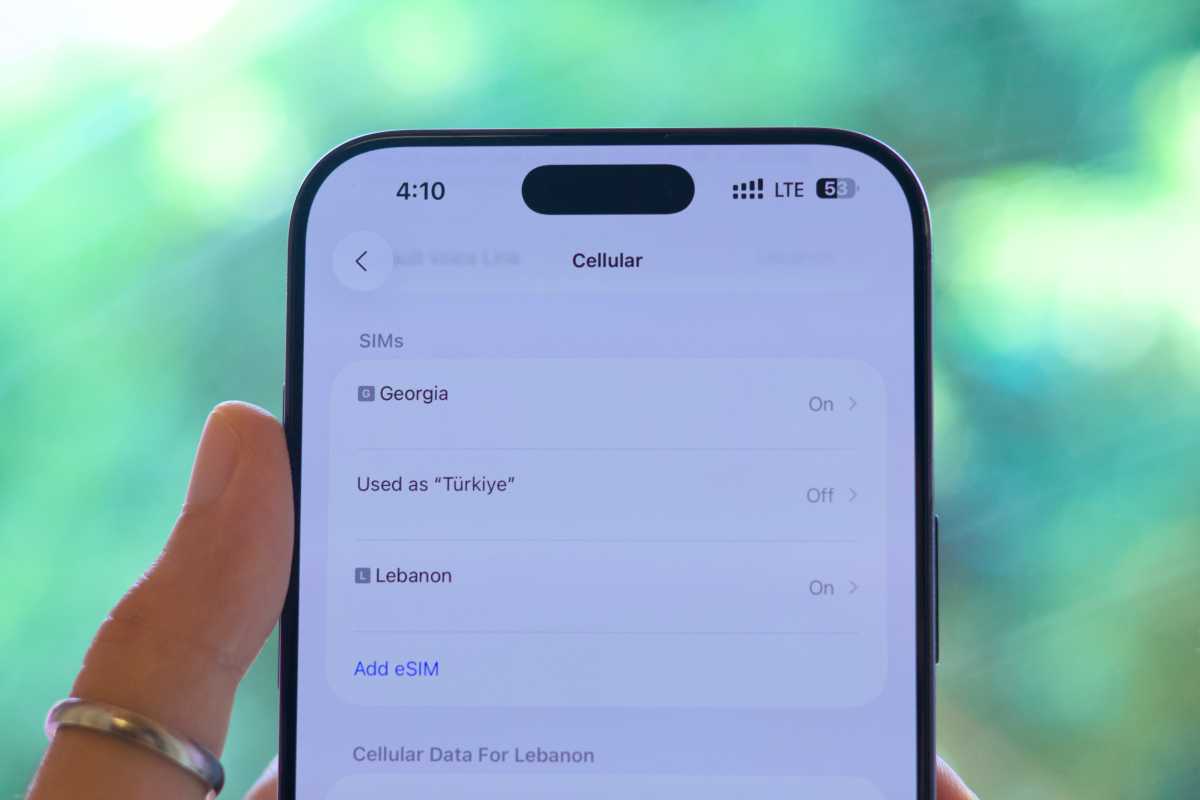
After installation, it’s a good idea to give each SIM on your phone a name such as “Home” and “Japan.” This makes it much easier to ensure that you’re using the right SIM at the right time.
Before you land, make sure your Japan eSIM will be the one handling mobile data. At the same time, turn off data roaming on your home SIM unless you specifically plan to use your carrier’s international roaming service. It’s also a good idea to disable automatic cellular data switching so your phone doesn’t fall back to your home line without you noticing.
However, your Japan eSIM may need data roaming turned on. Since many travel eSIMs connect through partner networks, roaming is an essential part of how they work. Check your provider’s instructions before changing anything, since the exact setup can differ from one eSIM to another.
Screenshot everything now, thank yourself at Narita
The final thing you’ll want to do before departure is save the eSIM details you might need if something goes wrong. Things like your provider’s app login, order or confirmation number, customer-support information, and any APN or setup instructions.
If your provider gives you a QR code or manual installation details, save those too. It’s also smart to take screenshots of the main setup and troubleshooting steps so you can view them in the case that you don’t have an internet connection.
Public Wi-Fi in Japan is common at airports, hotels, many cafes, stations, and tourist areas, especially in major cities. But coverage isn’t consistent enough that I’d rely on it as my only way to get online. Access becomes more of an issue once you leave the big cities.
This may feel unnecessary when everything is working at home, but it can save a lot of frustration after landing. If your eSIM fails to connect, you don’t want to discover that the instructions for fixing it are stuck on a webpage you can’t load.
Before you leave baggage claim, check these settings
Once you land, getting your eSIM connected should only take a minute or two if you set everything up beforehand. Make sure to turn off airplane mode, then enable your Japan eSIM and select it as the line for cellular or mobile data.
Next, turn on data roaming for the Japan eSIM if your provider requires it. Confirm roaming is off on your home SIM though, unless you specifically plan to use your carrier’s international service. Then give your phone a minute or two to register on a local network. Finally, with your Wi-Fi turned off, open up Google Maps or a web browser and do a simple check to see if your eSIM data is working correctly.
If everything works, you’re done. Setting up your eSIM in advance means you can get online almost immediately after landing rather than searching for airport Wi-Fi or buying a physical SIM after a long flight.
Troubleshooting eSIM problems
Foundry
If your eSIM doesn’t connect after you land, start with the basics and work your way out from there. Make sure the eSIM line is turned on and selected for cellular data, then double check whether your provider requires data roaming—if so, turn it on. If everything looks right but it’s still not working, toggle airplane mode on and off or restart your phone.
Still nothing? Check your provider’s setup guide before changing more advanced settings. Some eSIMs may need a specific network selection or APN configuration, but don’t start changing those at random. Use the values your provider gives you.
If all else fails, find the nearest public Wi-Fi—Narita and Haneda airports both have it—and contact the eSIM customer support.
One important warning: Don’t delete the eSIM as your first troubleshooting step. Some providers limit how many times an eSIM can be installed, so removing it might just worsen your problems.
No eSIM? You’ve still got options
An eSIM is convenient, but it isn’t your only option for getting online in Japan. If your phone doesn’t support eSIMs or you’d prefer something else, there are several alternatives.
Physical SIM card
A prepaid travel SIM works much like an eSIM and is a great choice for older phones. You can buy one online before your trip or at major Japanese airports and electronics stores. The downside is that your phone must be unlocked, and you’ll need to swap out your existing SIM if your phone only has one physical slot. Make sure you don’t lose your original SIM if you do this.
Pocket Wi-Fi
Personally, I relied entirely on pocket Wi-Fi when I first moved to Japan, and it worked well. After using an eSIM too, though, I now prefer the eSIM for day-to-day use. I don’t have to remember to carry another device or worry about its battery every time I leave the house.
That doesn’t make pocket Wi-Fi a bad choice. In fact, I think it makes more sense for families or groups who want to connect several devices to one plan. Just watch out for hidden data limits. Like eSIMs, pocket Wi-Fi plans can advertise “unlimited” data while still throttling your connection after heavy use, and a group can burn through those high-speed allowances much faster than one person.
Your home carrier’s roaming plan
This is usually the simplest option because you don’t need to install or rent anything. The caveat to a roaming plan is that the price can be exorbitant, which often makes it cost more than a travel SIM or eSIM—especially for longer trips.
Public Wi-Fi
As I mentioned previously, public Wi-Fi is common in big cities in Japan, particularly in places such as airports, hotels, cafes, train stations, and convenience stores, but it’s not a guarantee. As you move to smaller towns or into the countryside you should expect public Wi-Fi to be less common.
Ultimately, it’s useful as a backup, but coverage can be inconsistent so I wouldn’t rely on it as your only connection.
Japan eSIM FAQ
Is it worth getting an eSIM for Japan?
Yes, for most travelers getting an eSIM is generally the best choice while in Japan. It’s a convenient and cost-effective way to get short-term mobile data in the country. You can set it up before your trip and get online soon after you land, without the hassle of swapping SIM cards or carrying a separate pocket Wi-Fi device.
Should data roaming be on or off with a Japan eSIM?
It depends on the provider. Many travel eSIMs need data roaming turned on because they use partner networks in Japan. It’s always best to check your provider’s setup instructions to make sure.
Just remember to keep roaming turned off for your regular SIM unless you plan to use your carrier’s international roaming. Otherwise, you’re in for an expensive surprise on your next phone bill.
Do eSIMs drain battery faster?
No, an eSIM does not drain your phone’s battery faster than a physical SIM. Both rely on the same internal cellular hardware in your phone to connect to a mobile network, so their power consumption is virtually identical.
Can I use an eSIM and physical SIM at the same time?
On many newer phones, yes. This is handy because you can keep your physical SIM active for your regular number while using the eSIM for data while traveling in Japan.
Can I hotspot my laptop with a Japan eSIM?
Often, yes, but don’t assume every plan treats hotspot data the same way. Ubigi and Nomad, for example, allow you to share your connection with other devices. Holafly also supports hotspot use, but its Japan plan has a much smaller daily hotspot allowance.
If you plan to work from your laptop or tablet, or share your data with someone else, check whether tethering is supported and if it has a separate data cap. An “unlimited” eSIM isn’t necessarily unlimited once you start using your phone as a hotspot.


