Surfshark is one of the top VPNs on the market and it comes loaded with tons of useful features. While the service will work just fine right out of the box, with just a few tweaks you can optimize it to bolster your privacy and security and enhance your user experience.
Below I’ll highlight the top five settings that I think everyone should change in Surfshark’s VPN to get the most from their subscription. From properly setting up split tunneling to rotating your IP address, these tips and tricks will help you take full advantage of what Surfshark has to offer.
While I highly recommend Surfshark, if you’re interested in other great VPN services, be sure to check out my list of the best VPNs for even more options.
1. Turn on the Kill Switch
Turning on Surfshark’s Kill Switch will ensure your true IP address isn’t accidentally revealed in the event of a dropped connection.
Sam Singleton
You may have heard me say this before, but it bears repeating: Turn on your VPN kill switch. I recommend this not only to Surfshark users, but all VPN users in general. A kill switch is a fail-safe way to ensure your privacy remains intact at all times while using a VPN.
A VPN’s kill switch will automatically disable your internet access should the VPN connection drop unexpectedly. This prevents your personal data from being exposed in the event of an accidental disconnection.
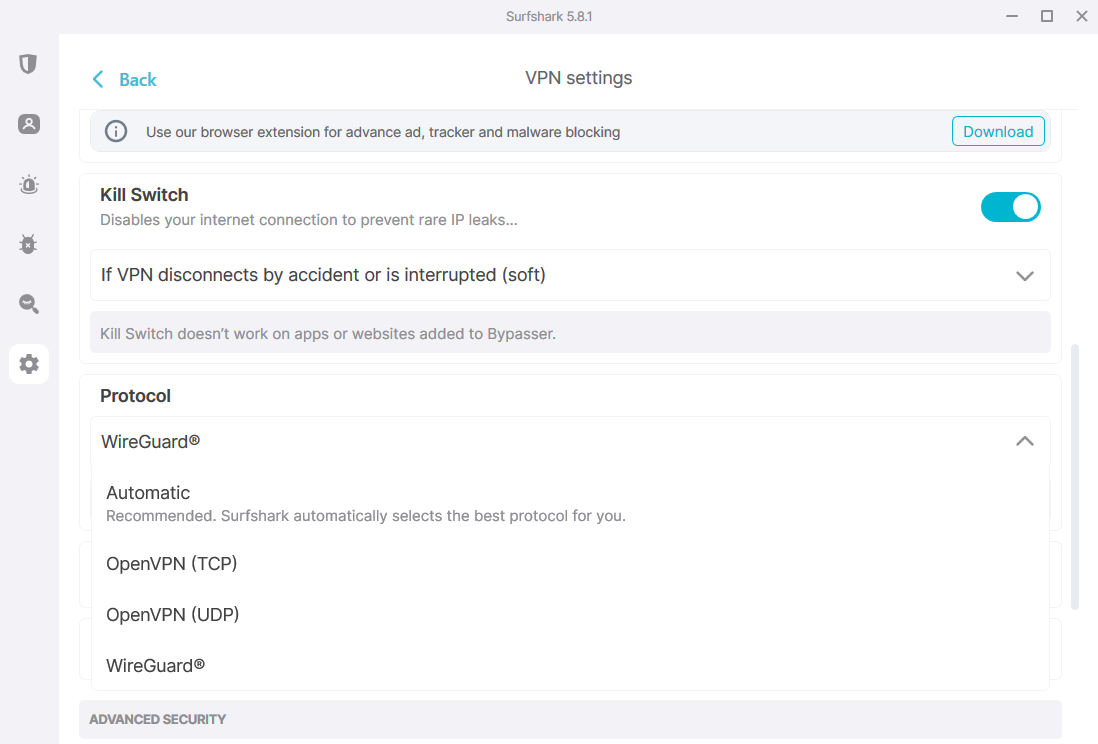
To turn this on in Surfshark, just open up the settings menu, navigate to VPN settings and toggle on the Kill Switch feature. You can choose either soft or strict. Strict will completely disable your internet until the VPN reconnects. Alternatively, the soft setting will only disable internet access to apps or websites you designate under Surfshark’s split-tunneling feature called “Bypasser.”
Which is best for you will depend on what data you wish to keep private; choose soft if you only care about specific apps/sites, choose strict if you want everything to remain private during an unexpected disconnection.
2. Choose which apps to run through Bypasser

Surfshark’s Bypasser split-tunnel feature allows you to pick and choose which apps or websites to run through the VPN.
Sam Singleton
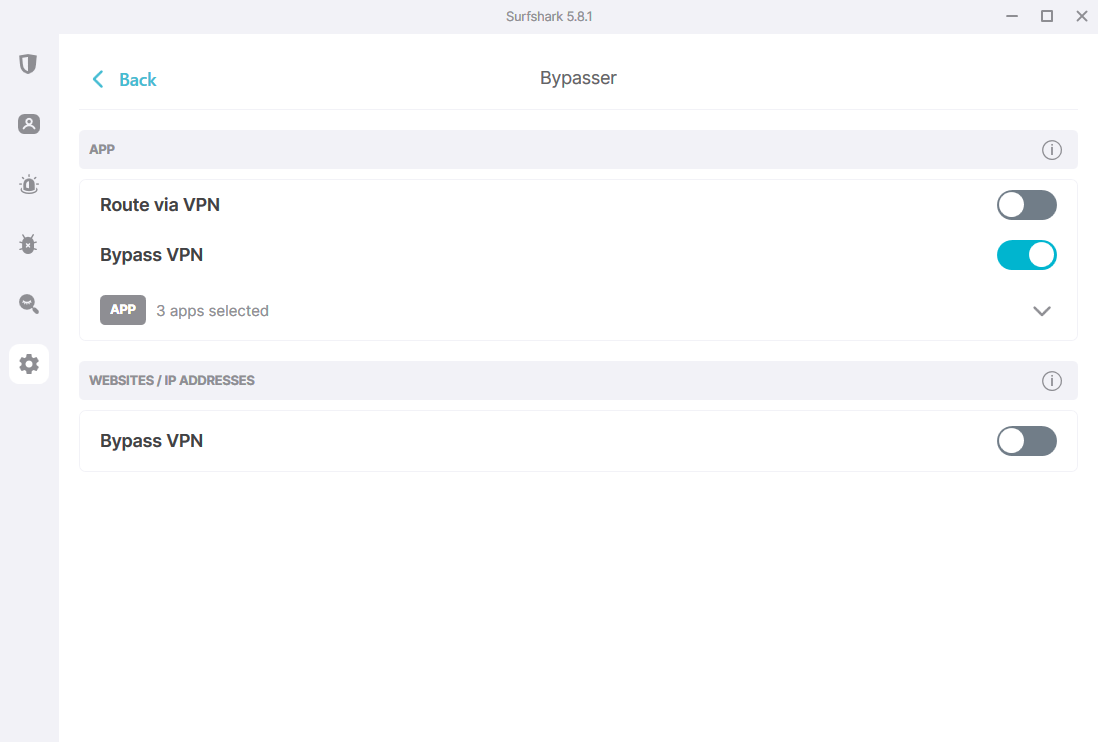
Bypasser is Surfshark’s split-tunneling feature. It’s an extremely useful feature that allows you to pick and choose which apps or websites you wish to run through the encrypted VPN tunnel and which you wish to keep outside of it.
Surfshark’s Bypasser is really easy to set up both for individual apps or websites. From the home screen click on the Settings > VPN settings > Bypasser. Here you can either toggle on specific apps to run through the VPN and exclude all others or run everything through the VPN instead and choose which to bypass the VPN. For websites it will automatically run all websites through the VPN, but you can choose individual sites to bypass and exclude from the VPN connection.
Personally, I run my internet browser through the VPN, but keep my online videogames excluded as I want all websites to be protected, but don’t want any potential restrictions caused by the VPN to affect my speeds while gaming.
3. Make WireGuard your default protocol

It’s almost always best to stick with WireGuard as your default protocol.
Sam Singleton
VPN protocols play an important role in the speed and security of your connection. Think of them like the traffic laws and road map that guide your traffic through a VPN tunnel.
VPN providers usually offer a handful of protocol options, but you’ll almost always want to stick with WireGuard as it’s the newest and provides a great combination of speed and security.
Switching your protocol in Surfshark’s app is a straightforward process. Click on the Settings menu on the home screen and then click VPN settings. Here you’ll find a drop-down menu for Protocol. Simply select WireGuard in this menu and it will now become your default protocol for all connections.
Further reading: Surfshark vs. NordVPN: Which VPN is better in 2024?
4. Set up Surfshark Alert

Surfshark Alert is a handy feature that will scan the web for data breaches containing your personal info and report back to you.
Sam Singleton
Surfshark offers a really cool service with a subscription to its One and One+ plans called “Surfshark Alert.” It’s essentially an email and data breach monitoring service. While a few other VPNs offer a similar feature, Surfshark’s monitoring impressed me with more nuanced data reports and great overall coverage.
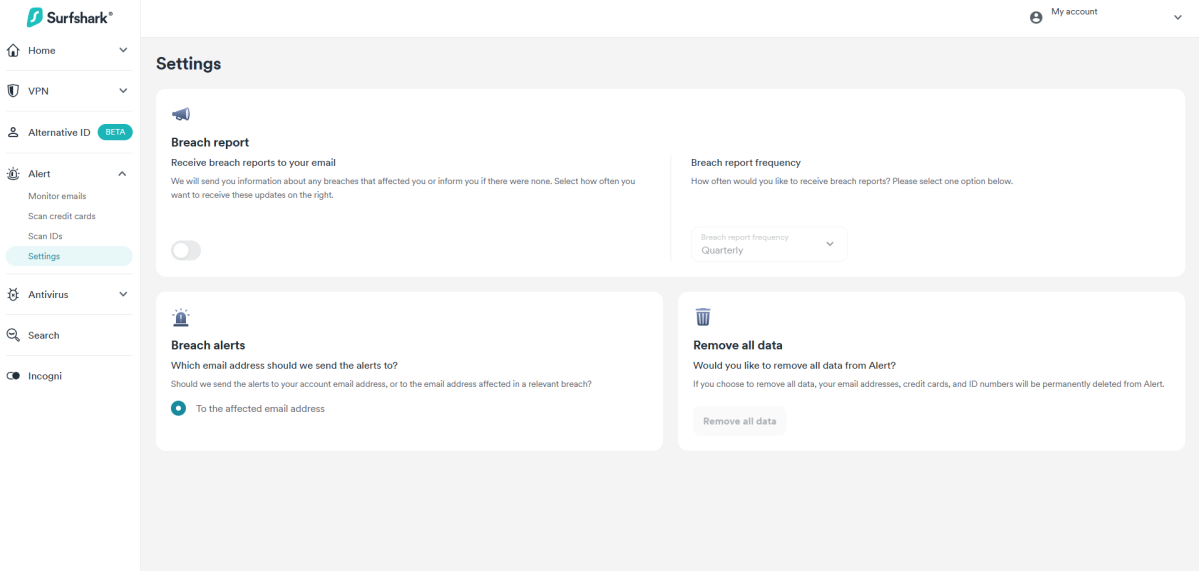
It only takes a minute or two to set up Surfshark Alert, but the benefits could be impactful. Not only does it monitor breached online databases for your email, personal ID numbers (SSD, etc.), and credit cards, but it will also send you reports throughout the year to keep you up to date on any of your data that may be compromised so you can take action.
To set up Surfshark Alert just click on the Alert option on the sidebar or the VPN home screen and choose Go to Surfshark Alert. It will then take you to a separate browser tab where you can enter in any emails, credit cards, and IDs you wish to monitor.
Granted, you are taking a bit of a risk providing all of this information to Surfshark, but it’s no different than any other data monitoring service, and Surfshark up to now has a good record of keeping user data protected.
5. Turn on Rotating IP

Turn on Surfshark’s Rotating IP feature to boost your anonymity even further.
Sam Singleton
A rotating IP feature with a VPN helps to ensure anonymity and prevent tracking online by periodically changing the IP address of your connection. It may also allow you to bypass website restrictions such as those of streaming services who have blocked or banned a specific VPN server’s IP address.
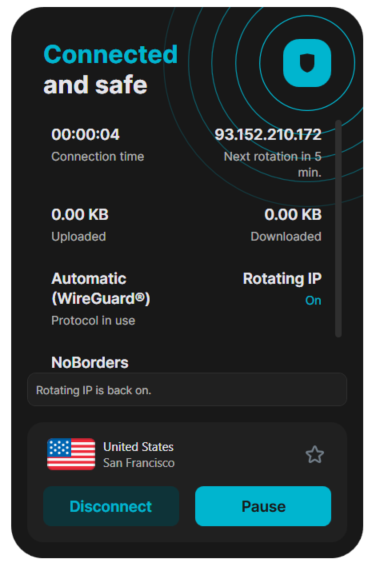
Surfshark’s built-in rotating IP tool will automatically change your connection’s IP address every 5 to 10 minutes without interrupting your connection. It’s an easy way to enhance your privacy and security without too many downsides — occasional speed reductions are the only noticeable effects.
To turn on Surfshark’s rotating IP, click on the Settings menu on the home screen and then click VPN settings. Toggle on Rotating IP and you’re good to go. Once you connect to a Surfshark server, you’ll notice that under the connection information Rotating IP will display On. There will be a small countdown timer at the top showing you when the next rotation will take place.


