I’ve been building PCs for over 20 years, and though I’ve gotten pretty good at it, a big part of that is due to the tools I use.
Everyone knows you need a decent Phillips screwdriver and enough space to build comfortably, but over the years and many builds, I’ve acquired a collection of extras that make the whole process even smoother.
From improved lighting to magnetic trays for all your screws to a blob of sticky tack that’s surprisingly useful, here are my picks for the most overlooked PC building tools that should be in your kit.
LED flashlight gloves
Hinshark
If you’ve built even a single PC, you’ll know that lighting is a real problem. Black PC cases with lots of nooks and crannies make it hard to see what you’re doing—even with good overhead lighting. Angle lamps are great, but I’m a big fan of hands-free lighting that can peer into any bit of darkness as needed, ideally without stopping what I’m doing.
Some people use headlamps, but I find these LED flashlight gloves work a lot better. Yes, you do need to point your fingers exactly where you want the light to go, but that’s fine since you’re already deep in the case while working on it. It lets you aim the light at all those weird angles that could normally stump you, and it’s excellent for locating screws that fall behind the motherboard tray or PSU shroud.
Needle-nose pliers
Workpro
My hands aren’t the biggest, but even my fingers can’t get into some of the tinier confines of modern desktop PCs and laptops. What do you do when you’ve lost screws deep within a case? One option is to lift the whole thing up and shake it upside-down like it owes you money. My preference is to use needle-nose pliers—or in a “pinch,” a hemostat—for reaching into those places where your fingers simply can’t.
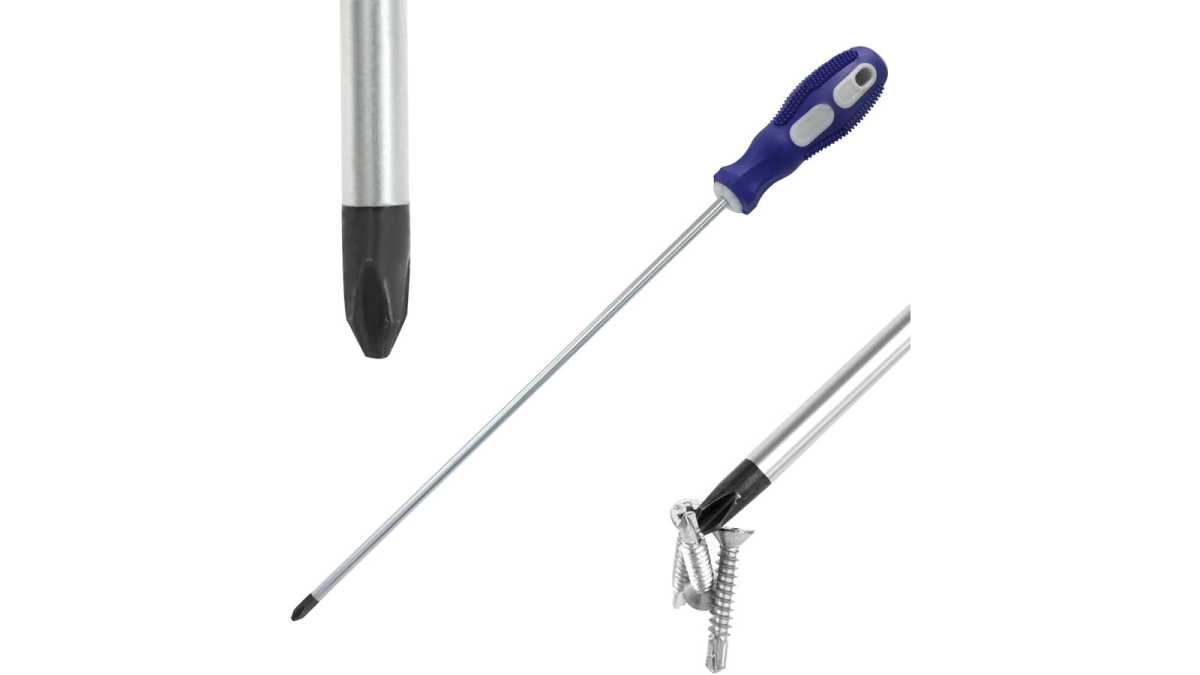
Extra-long magnetic screwdriver
Kyuionty
You already have a screwdriver, but do you have a long-neck model with magnetic tip? A standard screwdriver is fine most of the time, but this is a great supplementary option that can really save your bacon in certain cases. The long neck makes it easier to screw stuff in without having to reach all the way into the case, and the magnetic tip makes screw recovery from hard-to-reach cracks easier.
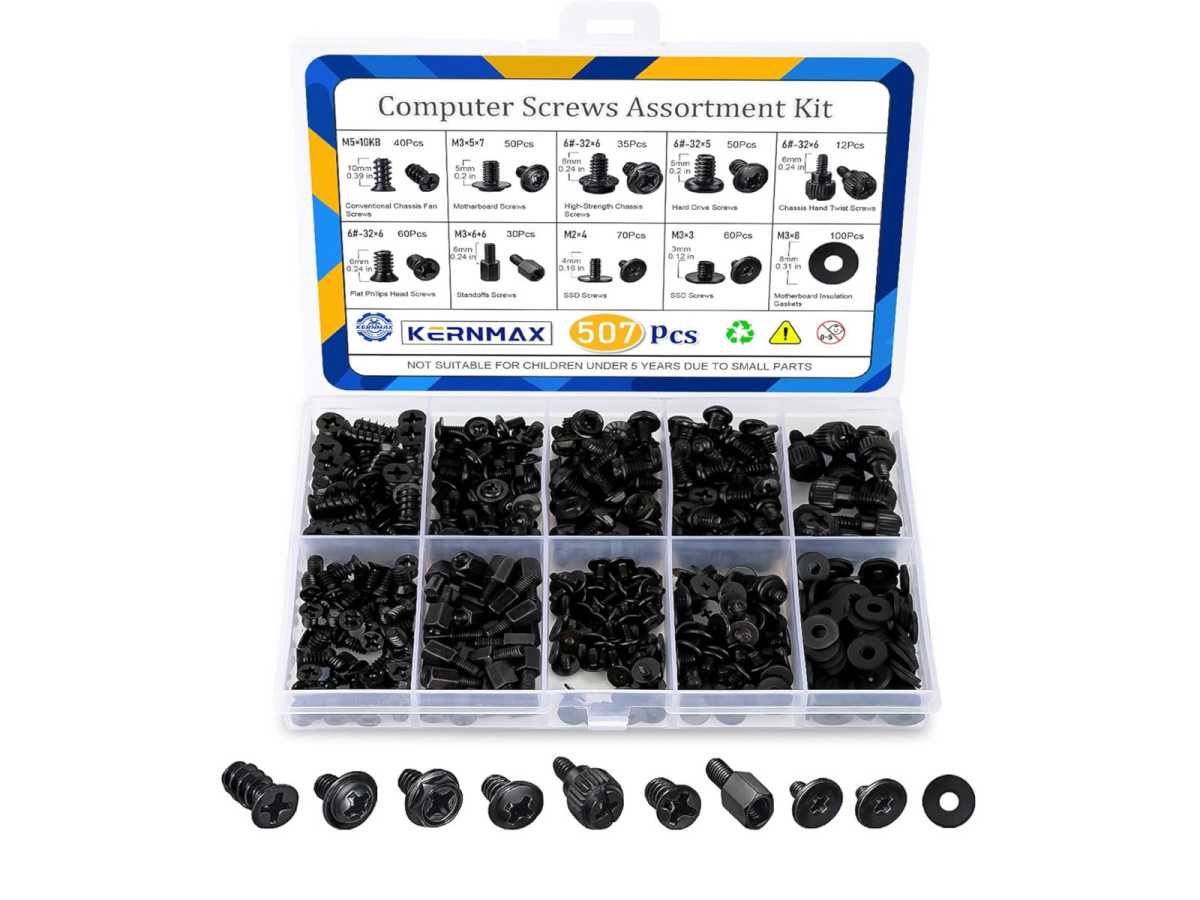
Screw assortment kit
Kernmax
A screw kit is something you can compile yourself over time—just put aside all the spare screws you have after every build—but if you’re just starting out, or if you’re running low on spares, then a PC screw assortment kit is a great investment. It’s less than $10 for 500+ screws, and you get everything from motherboard standoffs to silicon washers to various screw types for motherboards, SSDs, and everything else.
They’re great for blacking out a stealth build too. (No more shiny silver screws breaking up your sleek, dark interior.)
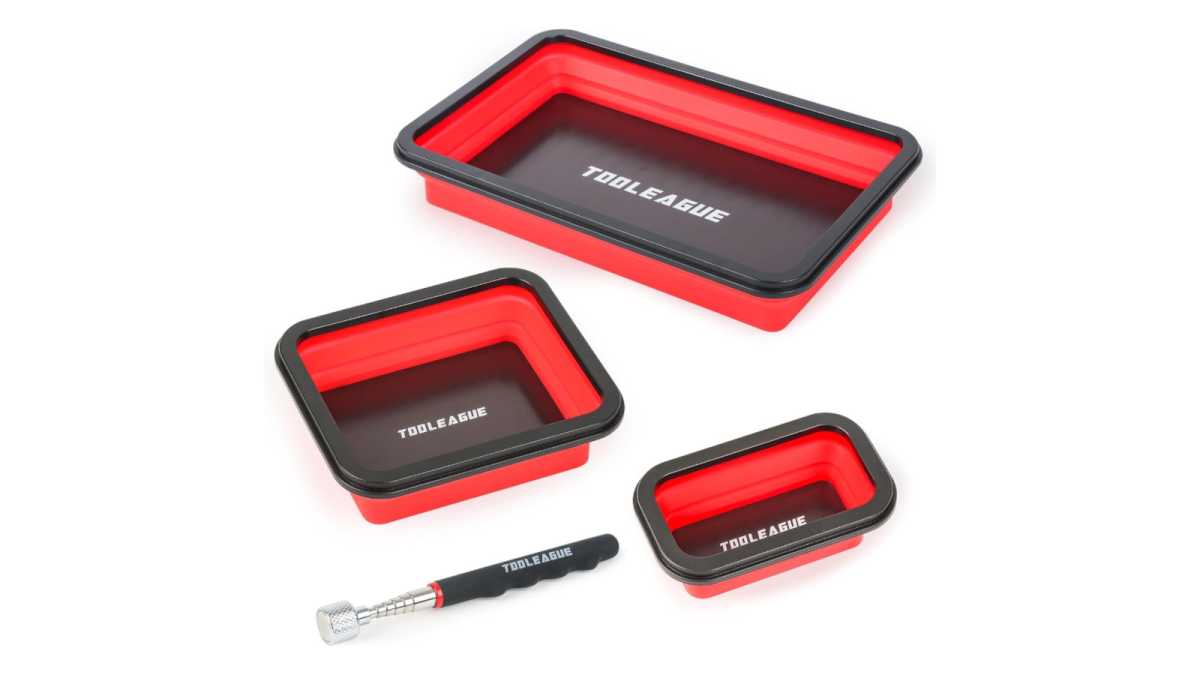
Magnetic parts tray
Tooleague
When you’re taking apart or building a PC, sometimes you’ll end up working with several different types of screws and bits—and lots of them at the same time. Could you throw them all into a bowl and sort them out later? Sure. Or you could use magnetic parts trays to keep them separated and organized. And since they’re magnetic, you won’t lose any.
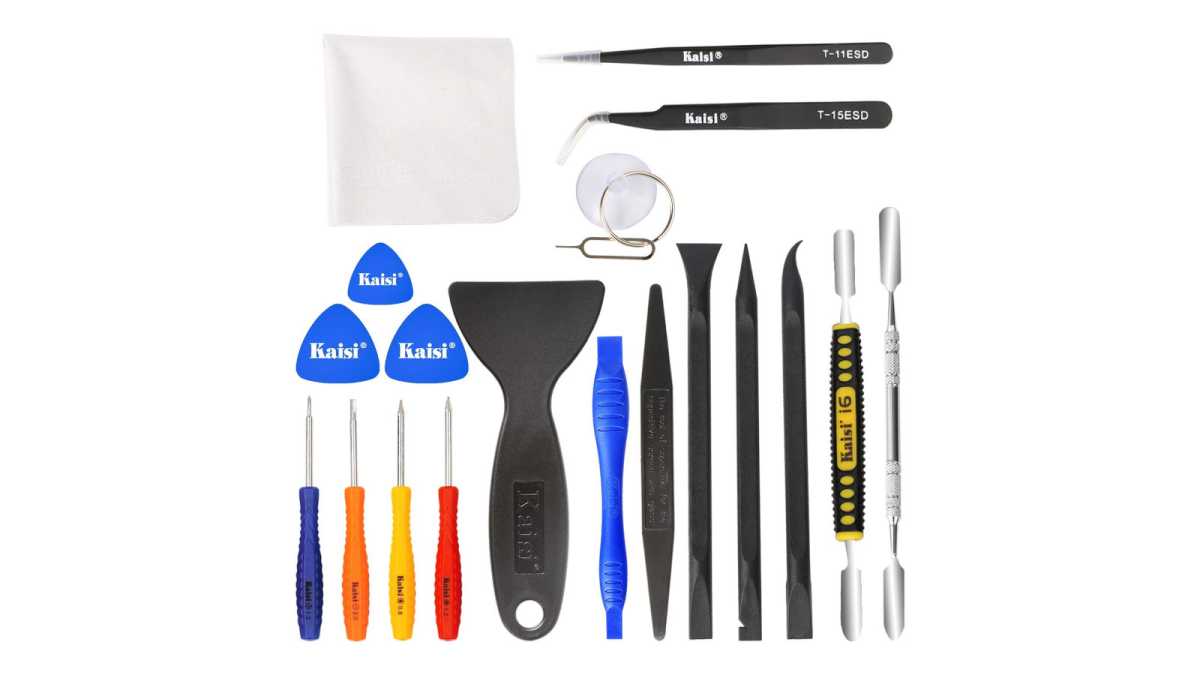
Plastic pry tools
Kaisi
Pry tools come in all shapes and sizes, and they’re most commonly used for smartphone repairs. But when I’m reaching into hard-to-reach places that I can’t risk scratching—like when pressing PCIe slot locks or popping out motherboard cell batteries hidden under graphics cards—I much prefer plastic pry tools. Just make sure whatever you get is thin enough to actually fit into those hard-to-reach places and long enough that large heatsinks and fans won’t block its effective use.
Anti-static mat
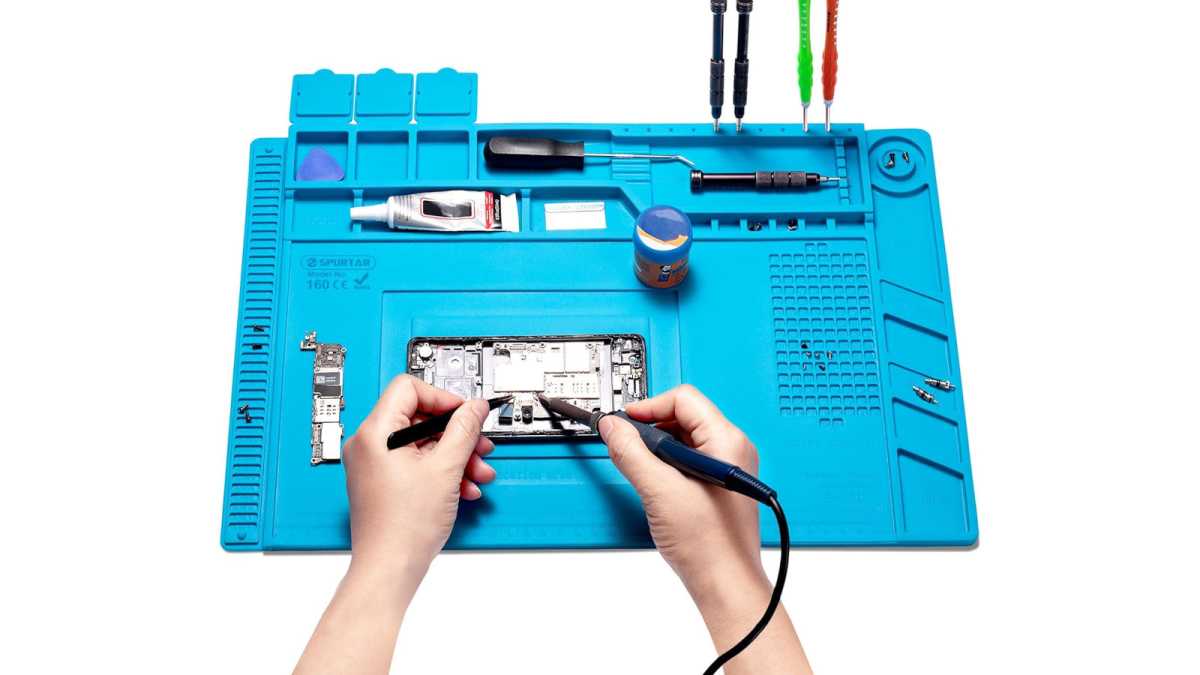
Spurtar
Anti-static protection may seem like overkill, but it’s better to be safe than sorry when you have hundreds or even thousands of dollars on the line. I don’t bother with anti-static wristbands, but I do always use an anti-static mat. Made from silicon (or similarly non-conductive material), they’re great for preventing shorts, especially when taking apart coolers or removing component shrouds and heat spreaders.
They also help to protect whatever surface you’re working on. If you have a gorgeous wooden desk, one of these mats can go a long way to preventing dings and scratches that are hard to buff out.
Cordless air duster/vacuum
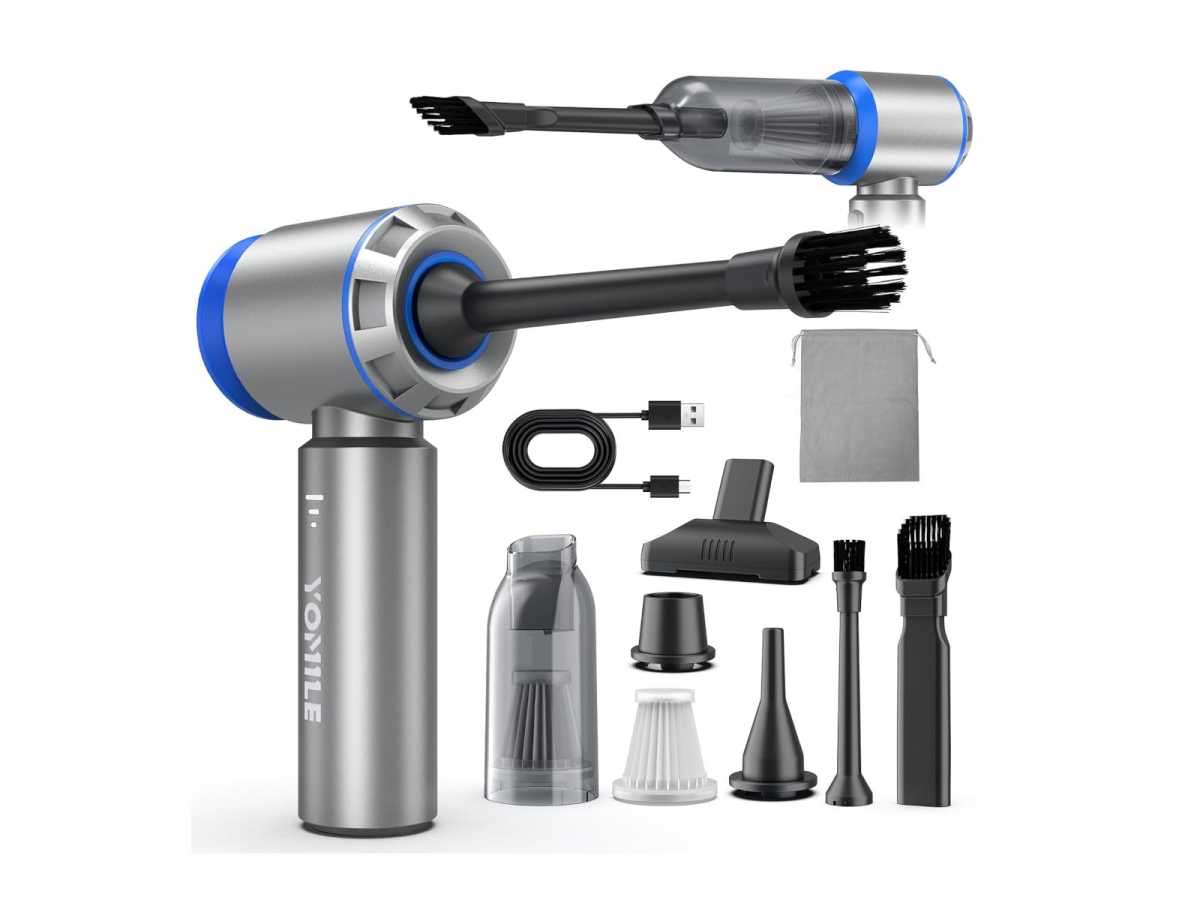
Yomile
Cans of compressed air are common in PC building kits, but I don’t like them. They carry a risk of damaging components due to their high pressure, not to mention the unsavory propellants that can condense on your hardware. I much prefer a cordless air duster and vacuum, which can be used repeatedly thanks to USB charging. No more buying cans of air, no more propellants, and no more damage concerns.
Sticky putty
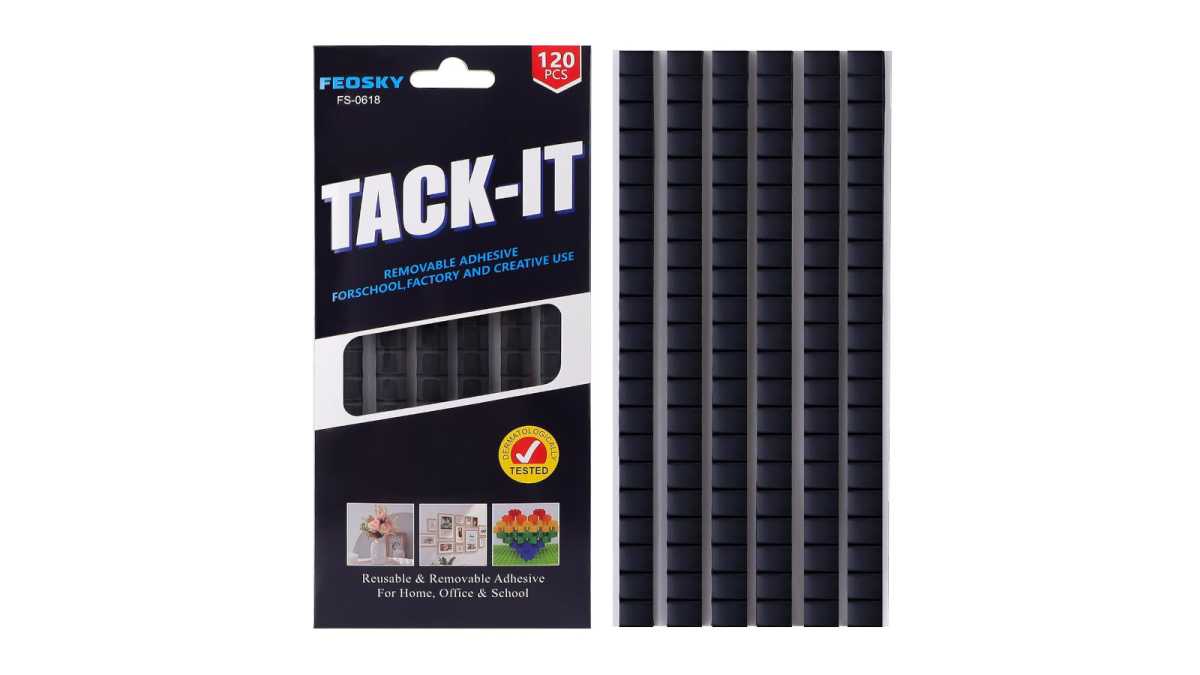
Feosky
If the needle-nose pliers fail, stick some putty on the end and try again! You can recover almost anything you’ve lost in a PC if you press it hard enough into some putty. No, it’s not the most elegant solution, but if you really can’t get that screw, cable, or coin battery out of that hard-to-reach place, it’s a good last resort. It’s also useful for bracing any components that are causing weird vibrations and noises.
Alcohol and microfiber cloth

Koala
If you like a clean PCB without old, dried-on thermal paste, you should keep isopropyl alcohol on hand. And while you could always use it with paper towels or cotton swabs, I wouldn’t. Paper towels risk scratching the PCB and chips, while cotton swabs leave cotton debris behind. Use it with a microfiber cloth—the kind that’s safe for glasses and lenses.
Cable ties and flush cutter

Klein Tools, Have Me TD
There are all sorts of fancy cable tidies you can use to manage the mess of spaghetti cables, but nothing beats the convenience and cost of standard plastic cable ties. A pack of these will help tidy up all those stray cables left at the end of a build. And if you want to really treat yourself, grab a pair of flush wire cutters. They’re better than standard scissors, which can leave them with sharp edges that’ll slice your fingers.
Double-sided and color-coded tape
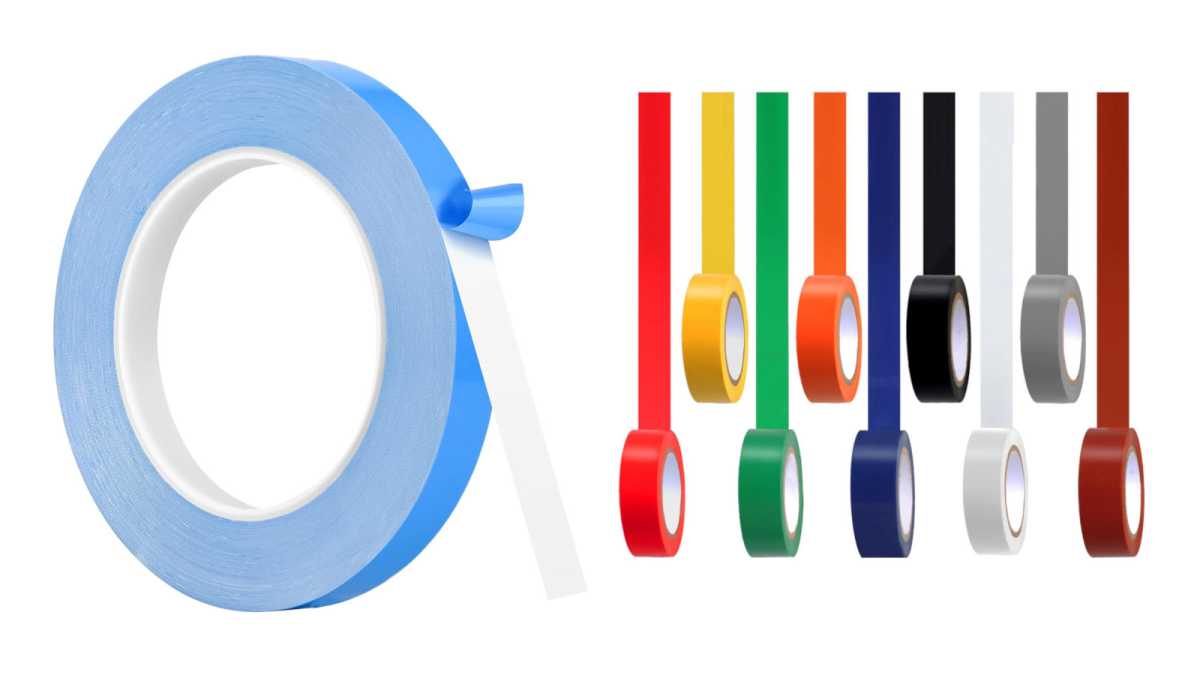
Romeda, Hoaoh
I use tape to keep stray cables and RGB strips in place, and both double-sided tape and color-coded tape come in handy for that. The color-coded tape is only needed if you want the tape to blend in with the interior color of your case. Regardless, anything you can’t affix using screws can be kept in place using tape. Keep some on hand and you’ll never find yourself unable to complete a physical repair.


