I’ve built a PC with just a single Craftsman screwdriver. I didn’t like doing it.
If I could go back in time to that first build, I’d invest $30 to $50 in useful tools. The right kit reduces the need to retrace your steps, puzzle over what you’re looking at, and even replace damaged parts.
Learn from my mistakes and don’t shortchange yourself on your toolset. (Especially if you’re already spending way more on your PC parts.) Below is a list of my absolute top five recommendations, in descending order of importance. But each one is very affordable, so you may as well get all of them.
1 – Magnetic screwdriver set
Alaina Yee / Foundry
I won’t build or service a PC without a magnetic screwdriver. Having one completely changes the game—I never get delayed by screws that have fallen into the crevices of a PC. I no longer worry about shorting something while poking around, either.
You can get a workable set for pretty cheap, usually $15 or less. The options I’ve seen all have the necessary bits for a standard PC build, and often torx and other more specialized screw heads for laptops.
If you have hand injuries or tendonitis, you can upgrade to a ratcheting magnetic screwdriver, which should help fatigue. (Or boredom, if you think screwing and unscrewing is tedious.)
2 – Headlamp
Alaina Yee / Foundry
Natural light is best while building, but not everyone can tend to a PC during the daytime. If that’s you, invest in a $10 headlamp, either rechargeable or AAA. Overhead room lighting usually creates shadows while working in a case, especially a black chassis.
A flashlight can do the trick, but strapping a light to your forehead is better. Sometimes you’ll need both hands to get things done. No reason to make life harder for yourself if you’re already deep into troubleshooting or building.
(Yeah, I resisted for the longest time. Eventually you resign yourself to how silly you look. If you’re building alone, no one will see anyway.)
3 – Magnetic tray
Alaina Yee / Foundry
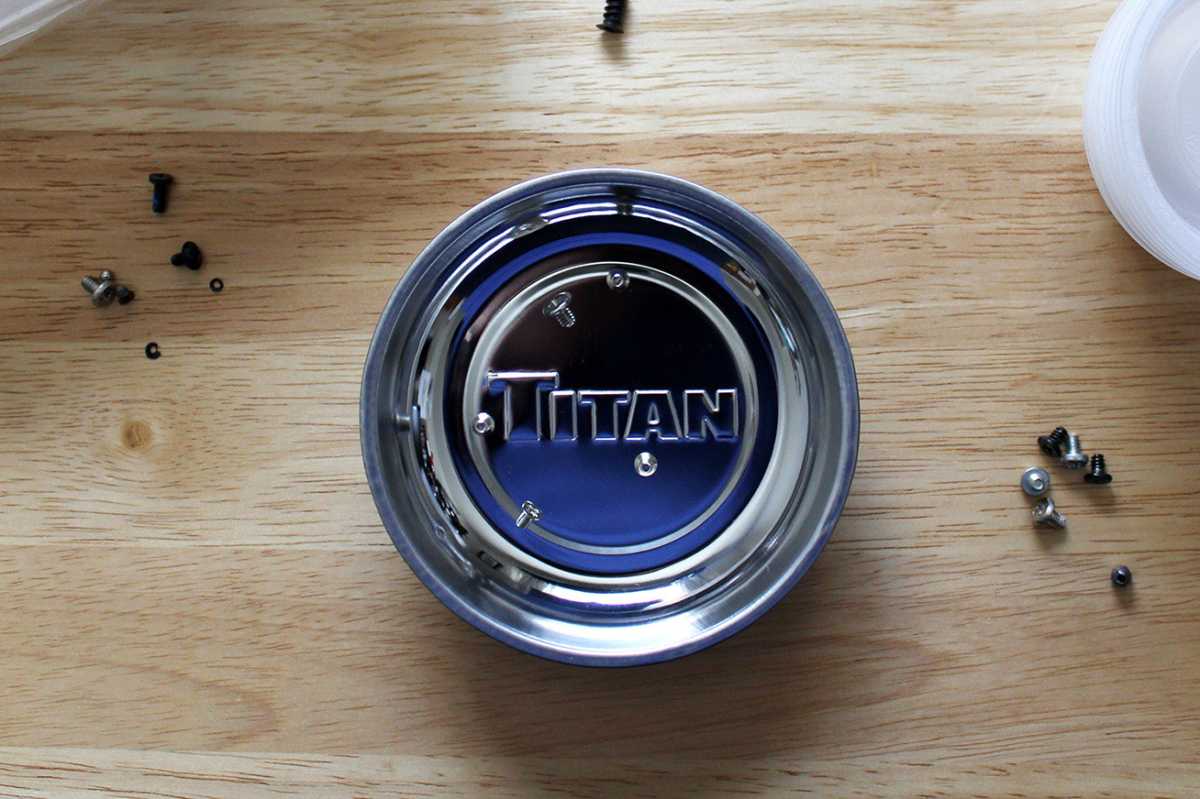
I always advise putting screws into a container as you work, especially if you’re fixing or upgrading the PC. At minimum, you won’t lose any. If you also cluster them into small groupings, you can track what went where.
I most prefer doing this using a $9 magnetic tray or magnetic mat, as extra insurance. (I’ve knocked containers around by accident—and sometimes my jerk cat even whacked them off the table.) Pick the tray for better protection against bumps and jostling. Pick the mat for better organization.
4 – Velcro ties
Alaina Yee / Foundry
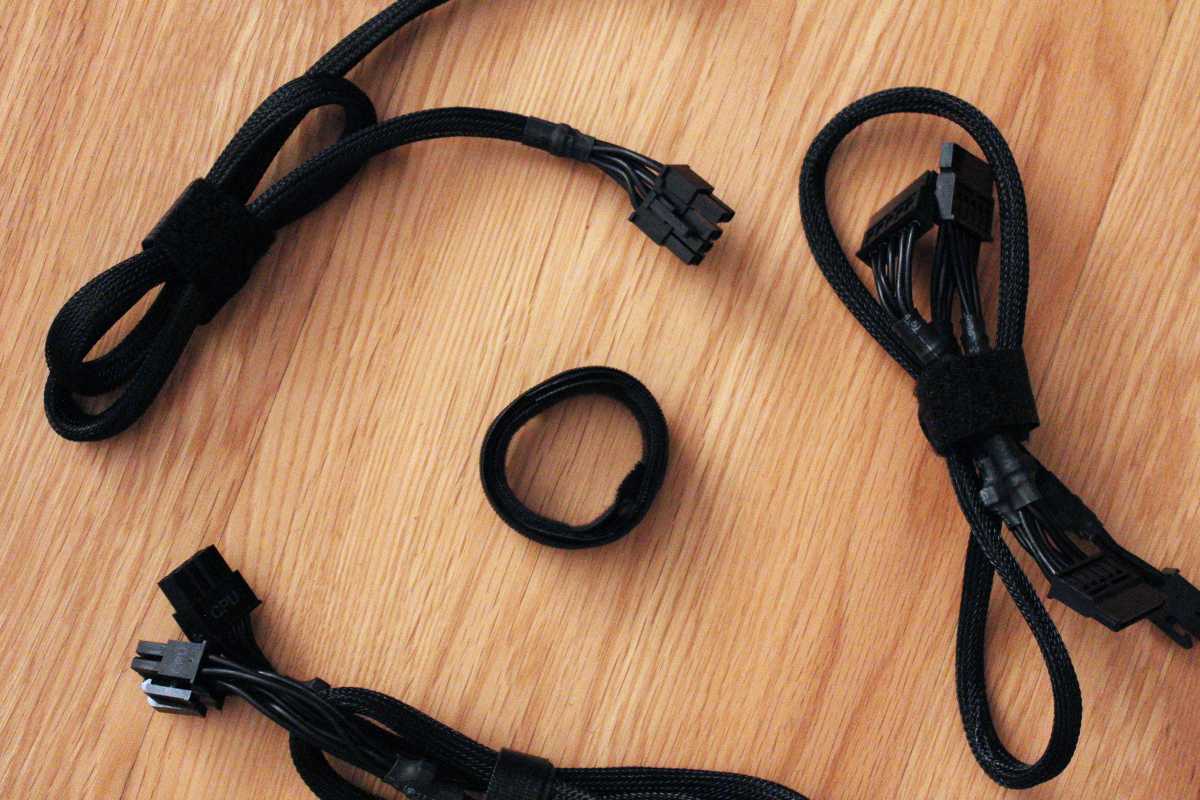
Zip ties are cheaper, yes. But you’ll always risk damaged cables whenever you snip them open to swap parts or adjust your cable routing. (Go in at the wrong angle or depth and…oops.)
Velcro ties only cost a little more and are both safer and reusable. Technically, these are “reusable zip ties” or “hook and loop ties,” but you can buy the Velcro name-brand ones if you really want. A 60-pack is just $3, and you can even go for a multi-color set if you want to use them outside your PC, too. (Like for tackling the mess of wires behind your desk.)
5 – Hemostat
Alaina Yee / Foundry
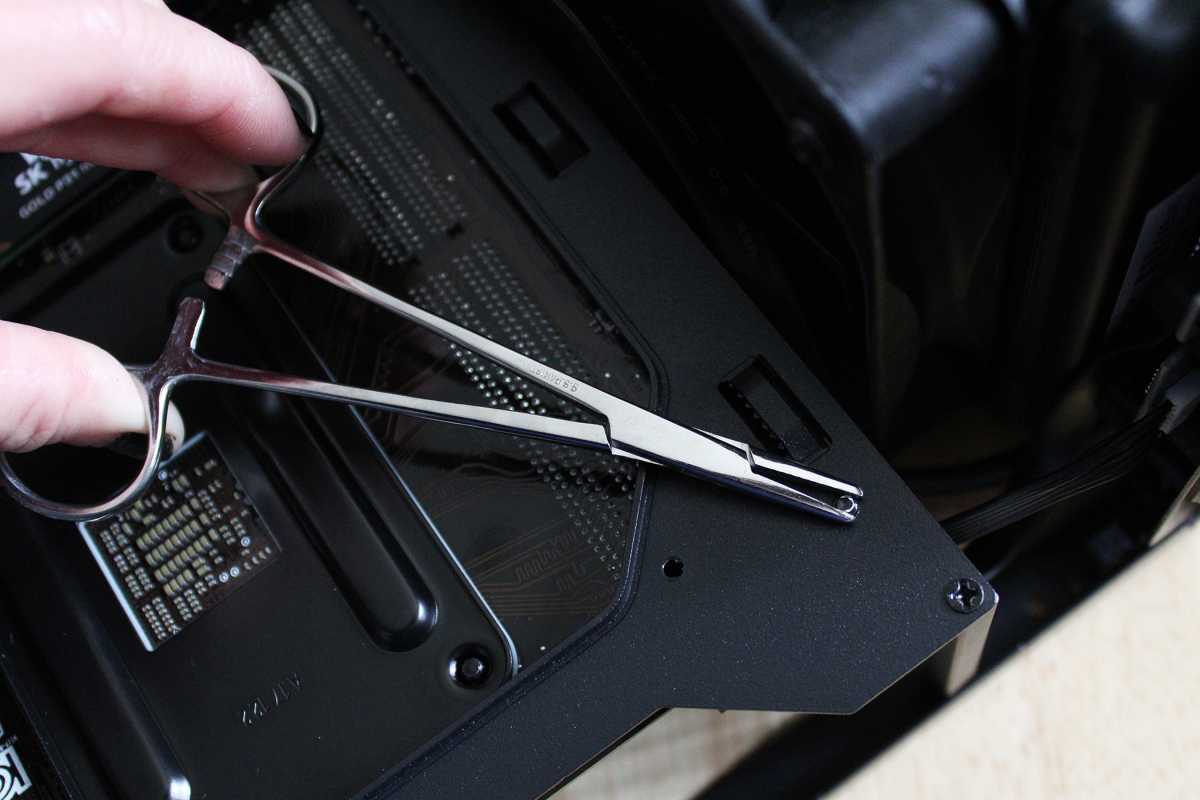
I haven’t yet seen this surgical tool mentioned in other PC tool round-ups, but I consider them vital. Straight-nosed hemostats have saved me headache and time on more than one build.
For example: Clamp the hemostat onto a loose motherboard standoff, and you can remove the attached screw. Or gently grip a cable header to connect it to a tight spot on the motherboard—no need to clear more room by pulling parts from the case.
I have multiple, with the 6.25-inch and 8-inch sizes most often used. (I’m considering getting a 10-inch one as well, for even longer reach.) You can buy these individually for about $8 each, or a $12 set that also includes a couple of smaller sizes.
Tip: The jaws of this locking tool have ridges, so I put a protective layer between those teeth and the component they’re gripping to avoid scuffs. A spare rubber band or folding a bit of paper towel works fine.
Bonus buys
Alaina Yee / Foundry
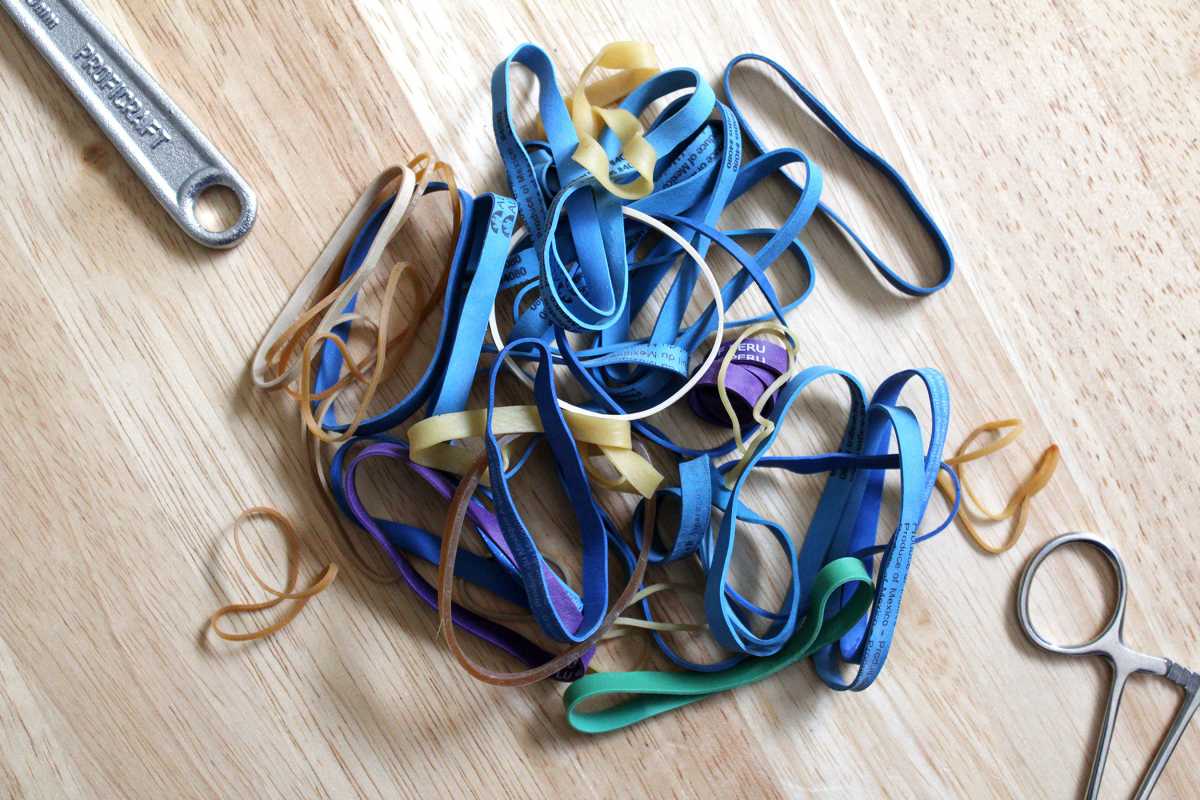
These 5 tools are what I consider must-haves, but you can add a few extra for a more well-rounded kit—a small adjustable wrench, a long flathead screwdriver, a pack of rubber bands, and a smaller vice grip.
- I use the adjustable wrench to properly tighten motherboard standoffs before I ever put a motherboard on them. Or conversely, if someone skipped that step, to hold a loose standoff in place to remove a screw if the hemostat isn’t working.
- The long flathead screwdriver can help depress the retention tab on a PCIe slot. (It’s the latch that holds your graphics card or other PCIe card in place once fully seated.) You can also use one to help depress plastic clips holding front panels in place (more common on older cases).
- The rubber bands serve as a combo of cushion and grip when using the hemostat or wrench. You can also press a couple between your fingers and a sliding side panel for extra grip. (A rubber jar opener works for stubborn side panels, too.)
- The vice grip helps when you’ve stripped a screw head, need to remove the screw, and a hemostat isn’t working. The jaws of these locking pliers will hang onto the screw head well enough to start turning it.
These tend to be more “in case of emergency” type tools, and aren’t as commonly needed. But they’ve been worth the extra $30~ overall to add to my toolkit—I’ve saved myself a headache more than once with them on hand.
Related posts:
 Meet the future of Windows: Copilot+ PCs unleash practical AI tools
 I’ve kept my laptop clutter-free for years. These 9 simple habits are how
 U.S. military contractor likely built iPhone hacking tools used by Russian spies in Ukraine
 I’ve used this $140 Brother printer for years. It’s the only one you need